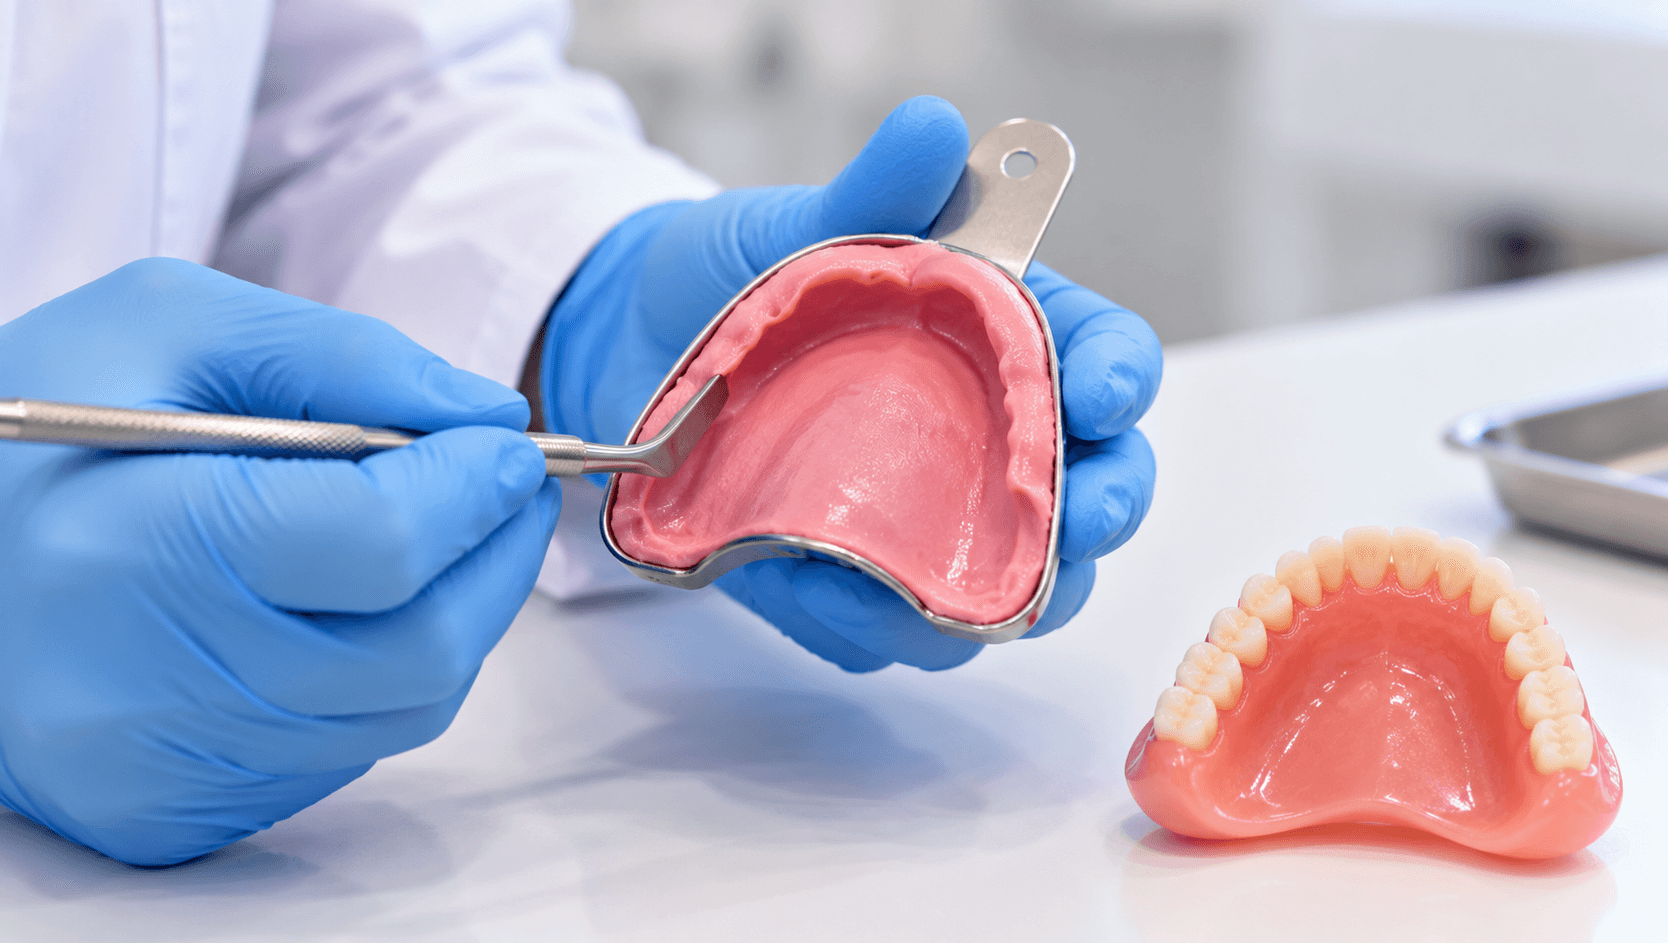
Almost every complaint about a complete denture - it moves, it drops, it hurts here, I cannot eat with it - traces back to one of two appointments: the impression or the jaw relation record.
Of the two, the impression is the one most often rushed. It happens early, it feels routine, and its consequences do not appear until the patient is wearing the finished prosthesis and neither of you can identify what went wrong.
This guide covers the anatomy, the sequence, the decisions within each step, and the errors that produce a loose denture.
What retention and stability actually depend on
Retention is resistance to vertical displacement away from the tissues. It comes from the interfacial surface tension and adhesion of a thin film of saliva between denture and mucosa, from atmospheric pressure acting on a peripherally sealed denture, and from accurate adaptation of the denture base to the tissues. All three depend entirely on the impression.
Stability is resistance to horizontal and rotational displacement. It depends on correct extension, a flange contoured in harmony with the surrounding musculature, and a tooth position that does not fight the neutral zone.
Support is resistance to vertical forces toward the tissues. It depends on using the primary stress-bearing areas and relieving the areas that cannot tolerate load.
Each is determined by a different aspect of the same impression, which is why there is no single correct technique - the technique must be chosen for the ridge in front of you.
The anatomy you are recording
In the maxilla, the primary stress-bearing area is the horizontal hard palate and the posterior ridge crest. Relief areas include the incisive papilla, the median palatal raphe where it is prominent, and a prominent mid-palatal suture. Limiting structures are the labial and buccal frena, the buccal and labial vestibules, the hamular notches, the vibrating line and the posterior palatal seal area, and the tuberosities.
In the mandible, the primary stress-bearing area is the buccal shelf, bounded laterally by the external oblique ridge, which is dense cortical bone running at right angles to the forces of occlusion. The residual ridge crest is a secondary support area, and in the resorbed mandible it is frequently a relief area rather than a support area. Relief areas include the mental foramen when it is near the crest, the mylohyoid ridge and prominent genial tubercles. Limiting structures are the labial, buccal and lingual frena, the retromolar pads, the masseteric notch, and the retromylohyoid fossa.
The two most common extension errors in the mandible are failing to cover the buccal shelf - the area that actually bears load - and failing to extend into the retromylohyoid fossa, which is a major contributor to seal in the lower denture.
Primary impression
Taken in a stock tray, selected for approximate size and modified with wax or compound where it is deficient, particularly over the tuberosities and in the retromolar region.
The purpose is to record the full denture-bearing area and its boundaries well enough to fabricate an accurate custom tray. It does not need to be a definitive record; it needs to be complete.
Material choice depends on the ridge. Impression compound in the mandible for the severely resorbed ridge, alginate for most routine cases, with the understanding that alginate in a stock tray displaces mobile tissue and will not record a flabby ridge accurately.
Have the patient perform functional movements during setting, and check the cast for the landmarks listed above before accepting it. A primary cast missing the hamular notch or the retromolar pad produces a custom tray that is wrong before it is made.
Custom tray design
This is a decision point that is frequently delegated to the laboratory without instruction, and it should not be.
Outline the tray on the cast to end 2 mm short of the functional sulcus depth, leaving room for the border moulding material.
The spacer decision determines the impression philosophy.
No spacer, with the tray in close contact, is used for a mucostatic impression - recording tissues at rest, appropriate where the ridge is well-formed and the mucosa firm.
A uniform spacer with tissue stops is used for most routine cases, giving even space for a wash material.
A selective spacer, relieving the areas that should not bear load while allowing contact over the primary stress-bearing areas, implements the selective pressure concept. This is the usual choice for the average case.
Specific relief for a flabby or fibrous ridge - a window technique, with the flabby area recorded in a low-viscosity material through an opening in the tray while the firm areas are recorded under pressure.
Write the prescription. A custom tray made with the wrong spacer cannot be corrected at the chairside.
Border moulding
The purpose is to record the functional depth and width of the sulcus, so the flange ends where the mobile tissue begins and the periphery seals during function.
Sectional border moulding with low-fusing green stick compound remains the reference technique: soften, add to one segment of the border at a time, temper, seat, and mould with the appropriate functional movement. Working in sections allows each area to be assessed and corrected independently.
Single-stage moulding with a heavy-bodied polyvinyl siloxane or polyether is faster and widely used, and is acceptable in straightforward cases. It is less forgiving because the whole periphery sets at once.
The movements matter and must match the anatomy. In the maxilla: lip movements for the labial flange, cheek movement outward, downward and inward for the buccal flange, and wide opening with lateral excursion for the distobuccal region where the coronoid process limits flange thickness. In the mandible: lip movements labially, cheek movement buccally, tongue movement to each side and forward for the lingual flange, and asking the patient to say ah and swallow for the retromylohyoid and distolingual regions.
The posterior palatal seal is recorded or carved at the vibrating line, located by having the patient say ah and confirmed with the Valsalva manoeuvre. A denture without an adequate post dam will not seal, however accurate the rest of it is.
Secondary impression and common errors
With borders moulded, a wash impression is taken in the custom tray with a low-viscosity material - zinc oxide eugenol, light-bodied polyvinyl siloxane, or a free-flowing polyether. Apply tray adhesive, seat with the appropriate pressure for the technique chosen, repeat the functional movements, and remove only when fully set.
The errors that produce loose dentures:
Over-extension, causing displacement during function, ulceration at the sulcus and a denture that unseats when the patient speaks or swallows.
Under-extension, losing peripheral seal and support area. Under-extension in the retromylohyoid fossa and over the buccal shelf accounts for a large share of unstable lower dentures.
Inadequate or absent posterior palatal seal.
Excessive pressure displacing mobile tissue, which then rebounds and unseats the finished denture. This is the mechanism behind the denture that fits at the fit appointment and is loose a week later.
Failing to relieve a flabby ridge, recording it compressed.
Movements performed by the clinician pulling the cheek rather than by the patient functioning, which records a sulcus that does not correspond to function.
Air voids and drags from inadequate adhesive or premature removal.
Not checking the final impression against the landmarks before dismissing the patient.
Hold the completed impression up and identify every landmark listed earlier. If one is missing, retake it. A second impression appointment costs far less than remaking a finished denture, and immeasurably less than a patient who never wears it.
Our Removable Prosthodontics Course covers complete denture technique hands-on, and the Online Complete Denture Course and Online Removable Prosthodontics Course cover complete dentures and RPDs remotely.
Related reading: our article on why dentures become loose, and our guides to full mouth rehabilitation and implant prosthodontics for patients where implant retention is the better answer.