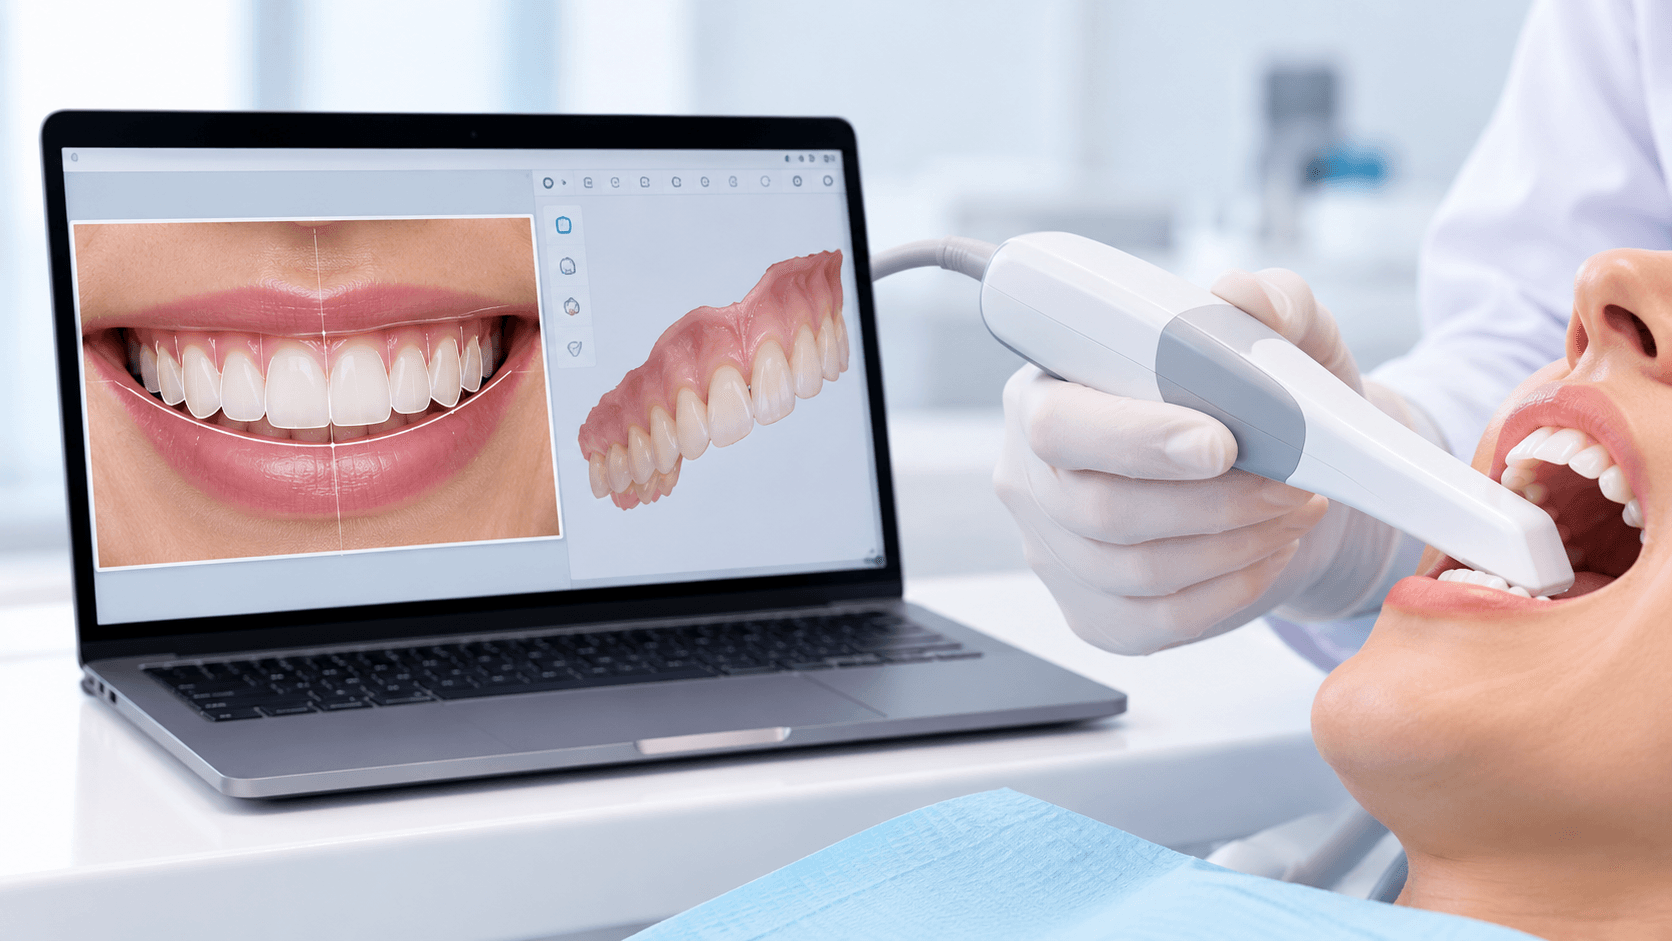
Digital dentistry is sold as a device purchase and practised as a workflow. That gap is why so many practices buy an intraoral scanner, use it for crown impressions, and conclude after a year that the technology is overrated.
The value is not in replacing an impression. It is in connecting photography, scanning, design, trial and manufacture into a single sequence where every step informs the next and the patient sees the outcome before anything irreversible happens.
This guide walks through that sequence as it actually runs in general practice, and is honest about where analogue methods remain better.
Step 1: Records, and why photography comes first
Digital smile design is a facially driven process, which means the face is the reference, not the teeth. If your record-taking starts with a scan, you have already lost the information that matters most.
The minimum useful set is a full-face frontal at rest, a full-face frontal with a natural smile, a profile, a 12 o'clock occlusal view, retracted frontal in occlusion, retracted lateral views, and retracted upper and lower occlusals. A short video of the patient speaking and smiling adds dynamic lip information that stills cannot capture.
Standardisation matters more than equipment. The same camera settings, the same distance, the same head position every time. Our dental photography courses cover the settings and the retractor and mirror technique that make records repeatable; without repeatability you cannot compare before and after, and you cannot superimpose a design reliably.
Step 2: Intraoral scanning that is actually accurate
Full-arch scan accuracy degrades with span. For single units and short-span bridges, modern scanners are reliably accurate. For full-arch implant frameworks the question is more nuanced, and scan bodies, scan strategy and in some cases photogrammetry become relevant.
Practical points that make the difference between a usable scan and a remake: control moisture and bleeding before scanning, not during; follow a consistent scan path rather than wandering; capture the preparation margin with the tissue displaced, because a scanner cannot see what an impression material would have pushed aside; and scan the opposing arch and the buccal bite in maximum intercuspation.
The common failure in practice is treating the scanner as forgiving. It is less forgiving than impression material about blood and saliva, not more.
Step 3: Designing the smile
With calibrated photographs and a scan, the design stage overlays proposed tooth proportions, incisal edge position and midline onto the patient's own face.
The decisions that matter are the same ones that mattered in analogue wax-ups: incisal edge position relative to the upper lip at rest and in smile; midline and its relationship to the facial midline; tooth proportion and the width-to-length ratio of the central incisors; gingival zenith positions; the buccal corridor; and the occlusal plane relative to the interpupillary line.
Software does not make these decisions. It makes them visible, testable and communicable - which is a real advance, because the patient can now participate in a conversation that used to happen entirely inside the clinician's head.
Step 4: The mock-up, which is the step people skip
The digital design becomes a printed or milled model, from which a silicone index produces an intraoral mock-up in bis-acryl. The patient sees and feels the proposed result with no tooth preparation.
This is the most valuable single step in the entire workflow, and it is the one most often omitted when a practice is in a hurry.
It lets you assess phonetics, lip support and incisal display in function, not on a screen. It converts an abstract consent conversation into a concrete one. It reveals when the design is too long, too white or too wide before you have cut anything. And it provides the reduction guide for preparation, so you remove tooth structure relative to the final contour rather than relative to the existing tooth - which is how minimally invasive preparation actually becomes minimal rather than aspirational.
Step 5: Manufacture, chairside or laboratory
Chairside milling suits single units and small cases where same-day delivery has real value for the patient. The economics depend on volume; a practice doing three crowns a month will not justify a mill.
Laboratory milling and pressing remain the route for larger cases and for the highest aesthetic demands, where layering and characterisation by a skilled technician still outperform monolithic chairside restorations.
3D printing has moved from models and surgical guides into provisionals, splints, trays and increasingly definitive restorations as materials improve. For most general practices, printing models, guides and splints in-house while outsourcing definitive restorations is the pragmatic middle position.
Whichever route, the material decision is still a clinical one: zirconia, lithium disilicate, hybrid ceramics and composites have different indications, and no workflow rescues the wrong material choice.
Where analogue is still better
Honesty here builds more credibility than enthusiasm.
Deep subgingival margins where the scanner cannot see the finish line and tissue management is inadequate - an impression still wins.
Complete denture impressions requiring functional border moulding, where the record you need is of tissue in function, not tissue at rest.
Some full-arch implant frameworks, where verification jigs or photogrammetry remain the reference standard.
Patients with severe gag reflex, where scanning is often better - a point in digital's favour that is worth remembering.
The mature position is not analogue versus digital. It is knowing which record each clinical situation demands.
How to adopt this without wasting money
Start with photography. It costs the least, improves your diagnosis immediately, and is a prerequisite for everything else.
Add scanning for the indications where it is clearly superior: single units, short spans, orthodontic and aligner records, study models, splints and monitoring. Build volume and operator confidence there before attempting full-arch work.
Introduce design and mock-up as a routine step for every anterior aesthetic case, even small ones. This is where the clinical benefit is largest and the capital cost is smallest.
Decide on manufacture last, once your case mix tells you whether a mill or printer pays for itself.
Our Digital Dentistry Course covers CBCT, CAD/CAM, intraoral scanning and 3D printing hands-on, and our Online Digital Dentistry Course covers the same workflows remotely. For the aesthetic decision-making that underpins the design stage, see our Aesthetic and Cosmetic Dentistry courses.
Related reading: our guide to smile makeover techniques and our article on dental photography for clinical documentation.