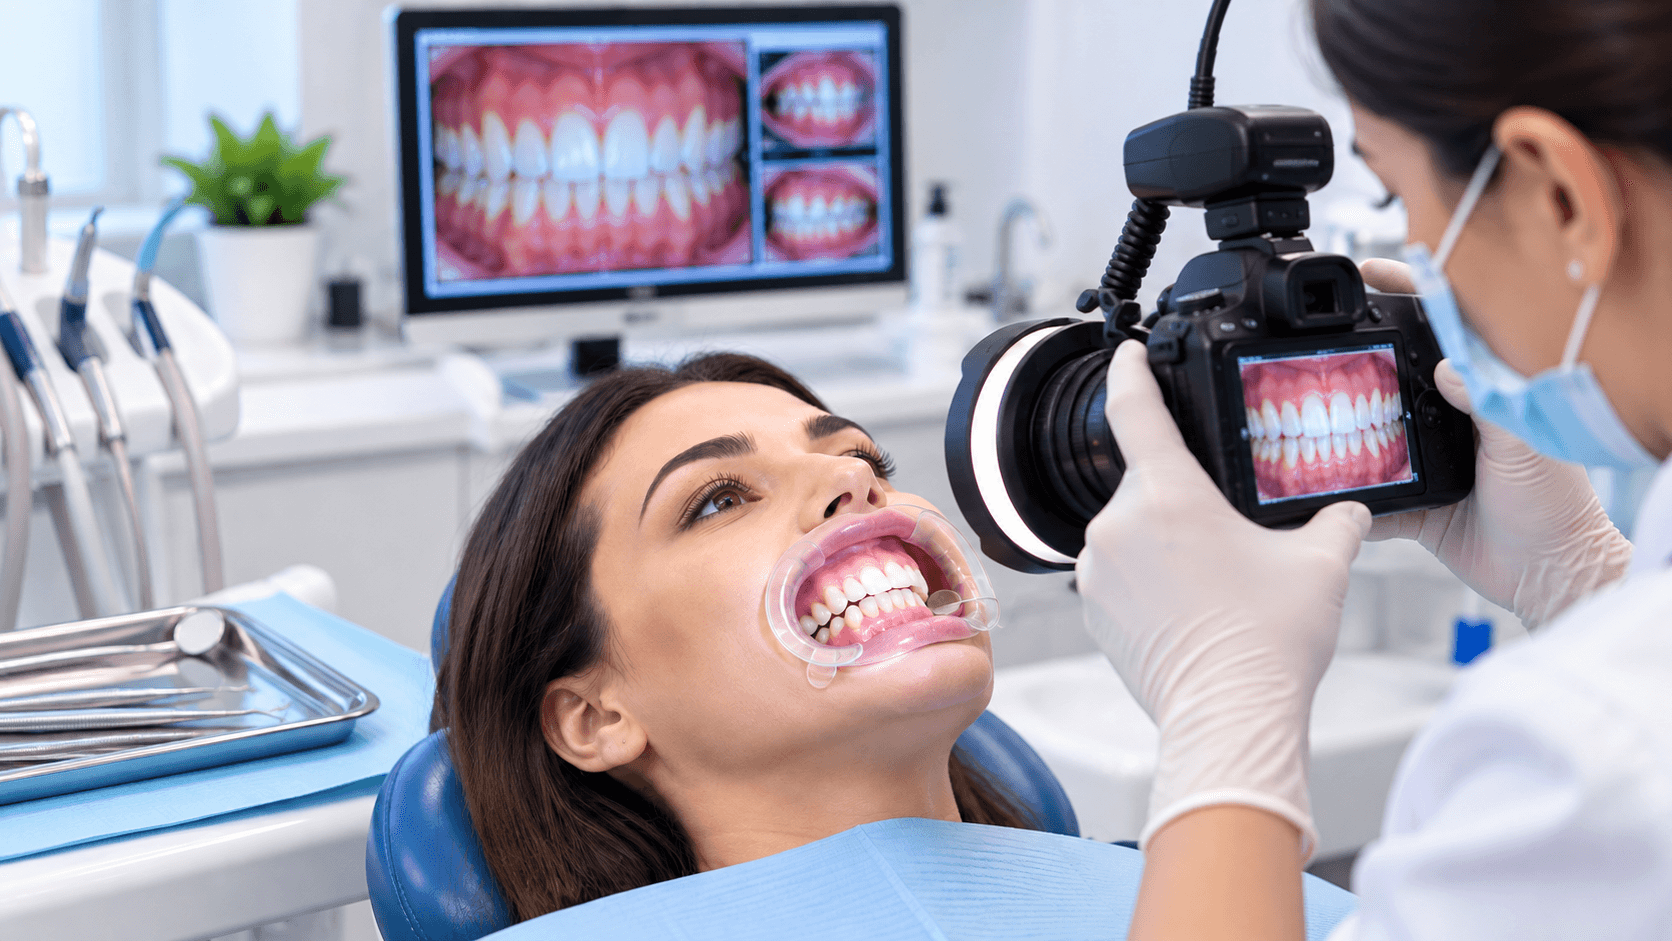
Dental Photography for Dentists: Essential Techniques for Clinical Documentation
Dental photography has become an important part of modern clinical dentistry. High-quality clinical photographs help dentists document oral conditions, evaluate treatment progress, communicate with patients, present cases, and maintain organized clinical records.
For dental professionals, learning proper dental photography techniques is not simply about taking attractive photographs. It requires an understanding of camera settings, lighting, positioning, retraction, mirrors, magnification, and standardized views.
Whether you are a general dentist, postgraduate student, cosmetic dentist, prosthodontist, orthodontist, or implant dentist, consistent dental photography can significantly improve clinical documentation and case presentation.
Why Is Dental Photography Important in Dentistry?
Dental photographs provide a visual record of a patient's clinical condition before, during, and after treatment.
They can help dentists:-
Document the initial clinical condition, Record treatment progress, Compare before-and-after results, Assist in treatment planning, Improve patient communication, Present clinical cases, Support interdisciplinary consultations, Maintain organized clinical records, Facilitate dental education and training, Evaluate esthetic and restorative outcomes,
Standardized photographs can also make it easier to compare clinical changes over time.
Essential Equipment for Dental Photography
A dentist does not necessarily need an extremely complicated setup to begin clinical photography. However, appropriate equipment can improve image quality and consistency.
Common dental photography equipment includes:
1. Camera
A DSLR or mirrorless camera with suitable macro capabilities can be used for detailed intraoral and extraoral photographs.
2. Macro Lens
A macro lens allows the dentist to capture close-up images with appropriate detail and magnification.
3. Dental Flash
Proper illumination is particularly important for intraoral photography. Ring flashes and twin flashes are commonly used depending on the clinical photography requirements.
4. Intraoral Mirrors
Occlusal and lateral photographs often require appropriately sized dental mirrors.
5. Cheek Retractors
Retractors help provide clear visibility of the teeth and gingival tissues while keeping soft tissues away from the photographic field.
6. Contrasting Backgrounds
Black or other suitable contrasting backgrounds can be useful when photographing isolated teeth or specific intraoral structures.
Standard Dental Photography Views
Consistency is one of the most important principles of clinical dental photography. Using standardized views allows photographs taken at different appointments to be compared more accurately.
Common views include:
Extraoral Photographs
These may include:
Frontal facial view Profile view Three-quarter view Smile photograph Resting facial photograph
These photographs can be particularly useful for esthetic treatment planning and documenting facial characteristics.
Intraoral Photographs
Common intraoral views include:
Frontal view Right lateral view Left lateral view Maxillary occlusal view Mandibular occlusal view
Additional close-up photographs can be taken when specific teeth, restorations, periodontal conditions, or lesions require documentation.
Techniques for Better Clinical Dental Photography
1. Maintain Consistent Positioning
The patient's head position, camera angle, magnification, and framing should remain as consistent as possible.
Standardization makes clinical photographs easier to compare during follow-up appointments.
2. Use Appropriate Retraction
Proper cheek and lip retraction provides a clear field of view and reduces obstruction.
Retractors should be positioned carefully to avoid unnecessary patient discomfort.
3. Control Moisture and Saliva
Excessive saliva can create unwanted reflections and reduce image clarity. Appropriate suction and gentle drying can improve visualization when clinically appropriate.
4. Use Proper Lighting
Good lighting helps reveal tooth morphology, texture, shade characteristics, gingival tissues, and restorative details.
The flash should be positioned appropriately to minimize unwanted shadows and reflections.
5. Keep the Image in Focus
Dental photography requires accurate focusing because small changes in focus can significantly affect the visibility of clinical details.
6. Avoid Unnecessary Background Distractions
The photograph should focus attention on the relevant clinical area. Clean framing and appropriate backgrounds help produce professional clinical documentation.
Dental Photography in Treatment Planning
Clinical photographs can become an important part of treatment planning, particularly for complex restorative and esthetic cases.
Photographs can help dentists assess:
Tooth proportions, Smile characteristics, Gingival display, Existing restorations, Tooth wear, Tooth position, Soft-tissue conditions, Esthetic concerns, Changes during treatment,
For interdisciplinary cases, standardized photographs can also help different dental specialists understand the patient's clinical situation.
Dental Photography for Patient Communication
Patients may understand their dental condition more easily when they can see what the dentist is explaining.
For example, photographs can help demonstrate:
Tooth wear, Gingival recession, Plaque accumulation, Fractured teeth, Existing restorations, Tooth discoloration, Orthodontic conditions, Missing teeth, Esthetic concerns,
Visual communication can make treatment discussions more understandable and structured.
Dental Photography for Case Presentation
Clinical photography is also valuable for dental education and professional case presentation.
A properly documented case can demonstrate:
Initial Condition → Diagnosis → Treatment Plan → Clinical Procedure → Follow-Up → Final Result
This structured approach can be useful for:
Dental students, Postgraduate students, Continuing dental education, Clinical discussions, Lectures, Case reports, Professional portfolios, Hands-on dental training,
Common Dental Photography Mistakes
Dentists beginning clinical photography often encounter several avoidable problems.
Common mistakes include:
Inconsistent camera positioning, Incorrect focus, Poor lighting, Inadequate cheek retraction, Excessive saliva or moisture, Improper mirror positioning, Inconsistent magnification, Crooked photographs, Unnecessary background elements, Failure to follow standardized views,
Developing a standardized photographic protocol can help minimize these issues.
Frequently Asked Questions
What is dental photography?
Dental photography is the systematic use of photographic techniques to document extraoral and intraoral clinical conditions for diagnosis, treatment planning, education, communication, and clinical records.
What camera is used for dental photography?
DSLR and mirrorless cameras with suitable macro lenses are commonly used for professional dental photography.
Why is a macro lens useful in dentistry?
A macro lens allows dentists to capture close-up images of teeth and oral structures with high levels of detail.
Are dental mirrors required for clinical photography?
Dental mirrors are useful for obtaining certain intraoral views, particularly occlusal photographs.
Why should dental photographs be standardized?
Standardization allows photographs from different appointments to be compared more consistently and helps create organized clinical documentation.
Conclusion
Dental photography is an essential clinical skill for dentists who want to improve documentation, treatment planning, patient communication, and case presentation. By using appropriate equipment, standardized views, controlled lighting, proper retraction, and consistent photographic techniques, dental professionals can create clear and clinically useful records.
Developing proficiency in clinical dental photography can therefore become an important part of continuing dental education and modern clinical practice.